Fixing Air Cooled Fan Performance Issues in Heat Exchangers
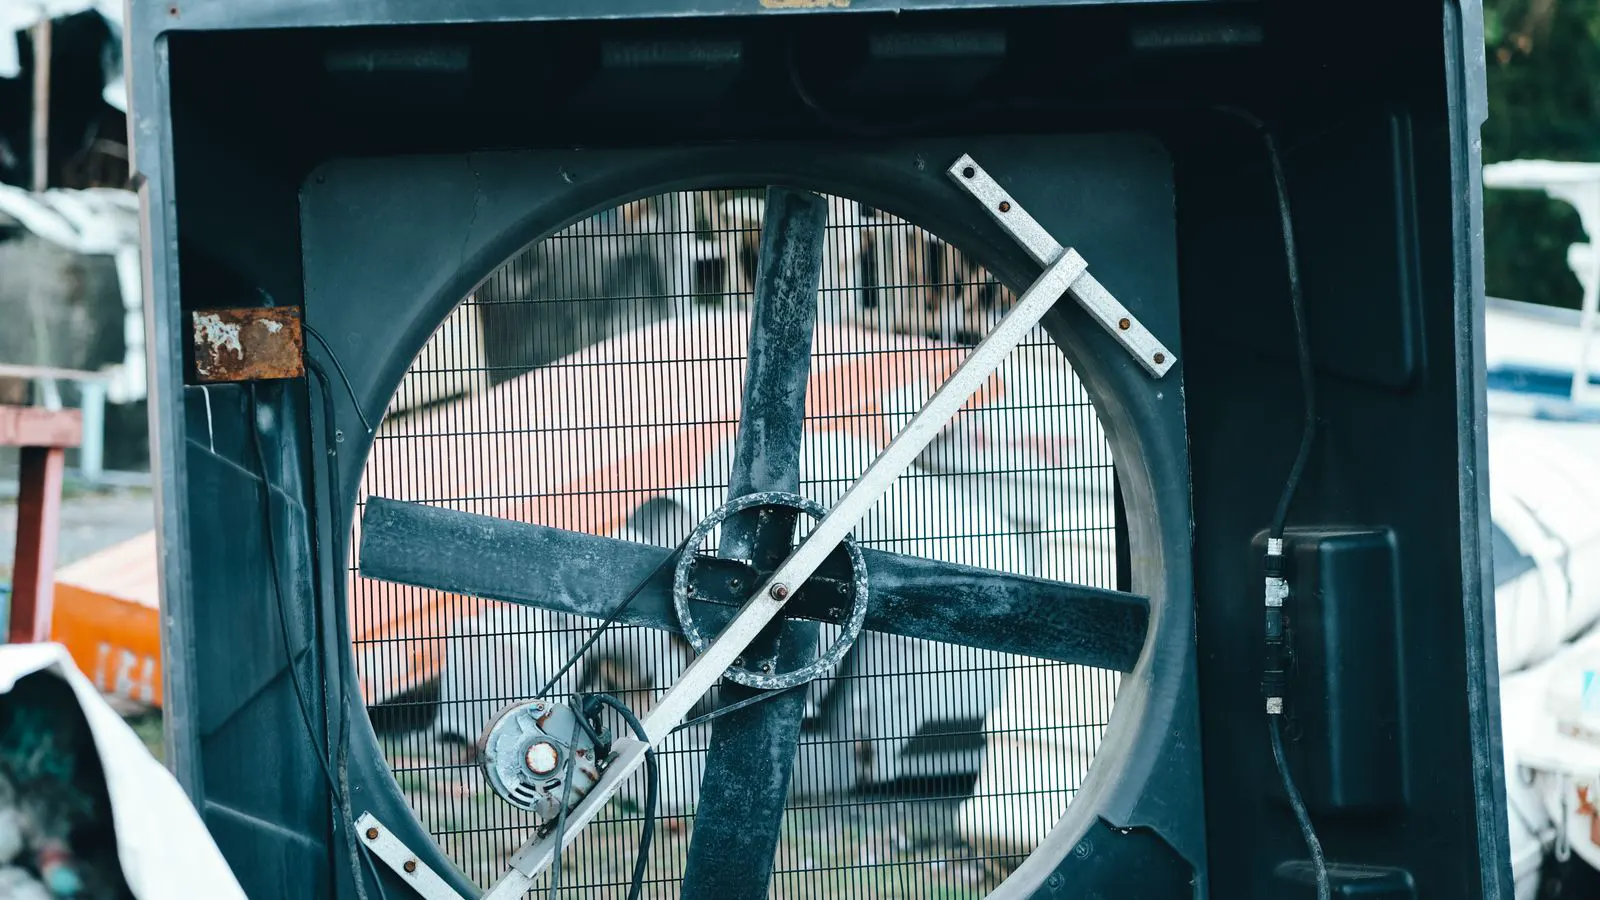
Reduced air cooled fan performance lowers cooling capacity and can damage the unit. This guide lists common symptoms, identifies likely causes such as motor faults and airflow reduction, and provides specific troubleshooting steps and prevention tips.
- Reduced air cooled fan performance usually points to motor faults, belt slippage, or airflow reduction caused by fouled surfaces.
- Check electrical signals, belt tension, and impeller clearance before ordering replacement parts.
- Regular inspection of fan blades and guards prevents mechanical damage and maintains design airflow.
- Log amperage and temperature readings to catch performance drops before they become failures.
Why Fan Performance Drops Before the Unit Fails
Air cooled heat exchangers depend on a steady flow of ambient air across the tubes or plates. When the fan system weakens, the thermal capacity of the exchanger falls immediately. Engineers often notice this as a gradual loss of cooling, a rise in discharge temperature, or an increase in the driving temperature difference. The problem rarely appears as a sudden catastrophic failure. It usually starts with a measurable shift in operating parameters.
Identifying the source of the drop requires separating the airflow path from the electrical drive. A dirty fin pack restricts air. A worn bearing creates friction. A failed contactor stops the motor entirely. Each failure mode presents differently on the control panel and in the physical inspection of the fan assembly.
Consider a shell and tube unit cooling process water. If the ambient air temperature rises by ten degrees Celsius, the heat rejection capacity of the unit drops unless the fan speed increases to compensate. If the fan speed remains constant, the discharge temperature of the process fluid climbs. Operators often misinterpret this as a process issue, such as a change in the inlet temperature or a blockage in the tubes. The root cause, however, is often the fan. The fan provides the moving heat sink. Without adequate air velocity, the heat cannot be rejected into the atmosphere.
The failure sequence is usually progressive. Electrical faults tend to be sudden. Mechanical faults tend to be gradual. A contactor failure stops the fan instantly, causing a rapid temperature spike. A bearing failure, by contrast, develops over weeks or months. The noise increases. The vibration grows. The motor current rises slightly. The fan speed may drop by one or two percent. These small changes accumulate. The thermal margin of the exchanger erodes until the unit can no longer maintain the required outlet temperature.
How to Check the Electrical Drive System
Start with the power supply. Verify that the voltage at the fan terminal matches the nameplate rating. A drop of more than a few percent can cause high amperage and overheating, which leads to insulation failure. Check the contactor or relay. If the coil energizes but the contacts do not close, the motor receives no power. Replace the contactor if the contacts show pitting or welding.
Inspect the motor windings with a megohmmeter if accessible. Open circuits or high resistance between phases indicate winding damage. A motor that draws high current at low speed often has a shorted turn. Do not run a motor with abnormal amperage, even briefly. The heat generated can destroy the insulation before a visible failure occurs.
Look at the motor terminals. Corrosion and loose connections cause voltage drops and localized heating. Tighten the lugs and clean the terminals. Check the thermal overload relay. If it trips frequently, the motor is drawing excessive current. This could be due to a mechanical jam, a voltage issue, or a failing winding. Do not reset the overload repeatedly without diagnosing the root cause.
Check the phase rotation. If a three-phase motor is connected with the wrong phase rotation, it will run in reverse. This can damage the impeller and reduce airflow. Verify the rotation by observing the impeller movement or checking the phase sequence with a phase rotation meter. Correct the wiring if the rotation is reversed.
How to Diagnose Mechanical Airflow Obstruction
Airflow reduction often stems from physical blockages in the fan path. Look at the inlet screen and the fin pack. Dust, cotton, leaves, or insulation fibers can build up on the fins. This increases the static pressure required to move air. The fan may run at full speed but deliver less volume.
Check the impeller blades. Cracked or bent blades alter the aerodynamic shape. They create turbulence and reduce pressure rise. If the blades are fouled with grease or heavy dust, clean them carefully. Avoid using high pressure water on the fins if the material is aluminum or if the coating is sensitive. Use compressed air at a safe distance to clear debris.
Inspect the inlet guide vanes. If present, check for blockages or damage. Vanes guide the air into the impeller. A blocked vane creates uneven loading and vibration. Clean the vanes and ensure they are not bent or corroded. A clogged inlet restricts the volume of air the fan can draw. This reduces the cooling capacity even if the motor runs at full speed.
Check the outlet diffusers and shrouds. Debris can accumulate here, blocking the discharged air. This creates a back pressure that reduces fan performance. Remove any obstructions and ensure the outlet is clear. A blocked outlet can cause air recirculation, where the fan pushes hot air back into the inlet. This reduces the effectiveness of the cooling.
How to Inspect Belts and Couplings
Belt-driven fans are common in larger industrial units. A worn or glazed belt slips under load. The motor speed remains constant, but the fan speed drops. Listen for a squeal or a slapping sound. Check the belt tension with a deflection gauge or the manufacturer’s specified deflection. Replace belts that show fraying, cracking, or missing ribs.
Inspect the pulleys. Worn grooves in the pulley drive cause the belt to ride up. This reduces the effective diameter and further lowers fan speed. Check the alignment of the motor and fan shafts. Misalignment creates side loading on the bearings. Over time, this leads to premature bearing failure and vibration. Use a laser aligner or a straight edge and feeler gauge to check alignment.
Clean the pulleys and belts before adjusting tension. Oil or grease on the belt causes slipping. Wipe the belt and pulley grooves with a clean cloth. If the belt is glazed, it may need to be replaced. A glazed belt loses its grip and cannot transmit torque effectively. Check the belt size and type. Using the wrong belt can cause excessive tension or slipping.
Inspect the bearings in the pulley shafts. If the shafts are free to turn, the bearings are likely okay. If they are stiff or noisy, replace the bearings. A seized pulley shaft causes the belt to slip or break. This can damage the belt and the pulley. Check the belt guard. Ensure it is secure and does not contact the belt. A loose guard can pinch the belt or catch on the pulley.
How to Evaluate Bearing Condition
Bearing failure is a leading cause of fan motor faults. A worn bearing creates noise, vibration, and heat. The noise often sounds like a rumble or a grinding sound. If the fan shaft is hard to turn by hand, the bearing is likely seized or heavily worn.
Check the grease. If the bearing is sealed, replacement is usually required. If it has a grease fitting, apply the correct grade of high temperature grease. Do not overpack the bearing. Excess grease creates friction and heat. Monitor the motor temperature with an infrared thermometer. A rising temperature trend indicates friction. Replace the bearing before the motor housing cracks or the shaft seizes.
Listen to the bearing with a stethoscope or by placing a screwdriver handle on the bearing housing. A grinding or rattling sound indicates wear. A high pitch squeal may indicate a lack of lubrication. Check the vibration with a handheld vibrometer. High vibration levels indicate unbalance or bearing wear. A bearing that is failing will show a specific frequency pattern related to the shaft rotation.
Inspect the motor housing for oil leaks. If the motor is oil-filled, check the level. Low oil levels cause bearing wear. Top up with the correct oil grade. Check the drain plug for metal particles. Metal in the oil indicates internal wear. Replace the bearing and inspect the shaft for scoring. If the shaft is damaged, it must be ground or replaced.
How to Manage Fan Control Signals
Modern air cooled units use variable frequency drives or thermostat controls. If the fan speed is controlled, a faulty sensor can send incorrect signals. A dirty air temperature sensor may read a higher ambient temperature than reality. The controller then reduces fan speed to save energy, but the cooling capacity drops.
Check the sensor location. It should be exposed to the air stream but shielded from direct sunlight and rain. Compare the sensor reading with a portable reference thermometer. If the reading is off, calibrate or replace the sensor. For VFDs, check the output frequency. It should match the setpoint. A degraded capacitor in the VFD can cause frequency drift. Replace the unit if the frequency fluctuates under load.
Inspect the control wiring. Loose or damaged wires can cause intermittent signals. The fan may speed up or down unexpectedly. Check the grounding of the VFD. Poor grounding can cause noise and erratic operation. Ensure the shielded cables are grounded at both ends. This reduces electromagnetic interference.
Verify the control logic. The fan speed should respond to the process load and the ambient temperature. If the logic is faulty, the fan may run at a constant speed regardless of conditions. This wastes energy and reduces efficiency. Review the control program and adjust the setpoints if necessary. Ensure the sensors are calibrated and the control loop is stable.
Troubleshooting Table for Common Issues
Use this table to cross-reference symptoms with likely causes and actions. This format helps field technicians isolate the problem quickly.
| Symptom | Likely cause | What to do |
|---|---|---|
| High motor current, low speed | Worn bearings, seized impeller, or voltage drop | Check bearing noise and shaft rotation. Measure supply voltage. Replace bearings if friction is high. |
| Fan speed normal, low airflow | Fouled fins, blocked inlet, or damaged blades | Clean the fin pack and inlet screen. Inspect and replace cracked impeller blades. |
| Squealing noise, speed drops under load | Glazed belt, loose tension, or misaligned pulleys | Replace the belt. Adjust tension. Check pulley alignment. |
| Fan runs intermittently | Faulty contactor, thermal overload, or loose wiring | Test contactor contacts. Reset and inspect the thermal overload. Tighten terminal connections. |
| Vibration and abnormal noise | Unbalanced impeller, loose mounting, or bearing wear | Balance the impeller. Check mounting bolts. Replace bearings if vibration persists. |
| Low cooling capacity, no electrical fault | Fouled tubes, low air volume, or high ambient | Clean the tube bundle. Verify fan performance. Check the ambient temperature reading. |
Prevention and Maintenance Schedule
Preventive maintenance extends the life of the fan system and stabilizes cooling output. Schedule a quarterly inspection of the fan assembly. Visually check the blades, belts, and guards. Clean the inlet screen and remove debris from the fin pack. Record the motor amperage during these checks. A baseline reading helps identify drift. A slight increase in amperage over several months can signal bearing wear or fouling.
Train operators to recognize the signs of airflow reduction. A rise in discharge temperature without a change in process load is an early warning. Keep a log of ambient temperature and fan speed. If the fan speed drops while the ambient temperature rises, the cooling margin shrinks. Address the mechanical issue before the unit reaches its thermal limit.
Replace belts and guards at planned intervals. Do not wait for a failure. A broken guard can eject debris or injure personnel. A broken belt can damage the pulley. Use the same brand and size of belts as the original to ensure proper fit. Store spare parts in a dry location. Dust and humidity degrade rubber and electrical components.
Check the fin pack for corrosion. Aluminum fins can corrode in humid or salty environments. Apply a protective coating if necessary. Inspect the tube bundle for fouling. Scale or biological growth on the tubes reduces heat transfer. Clean the tubes with a suitable chemical solution or mechanical method. Ensure the cleaning process does not damage the fins.
When to Replace the Fan Assembly
Sometimes repair is not economical. A motor with multiple winding faults, a severely corroded housing, or a cracked impeller core may warrant replacement. Check the age of the unit. If the fan assembly is older than ten years, replacement parts may be scarce. Consider a complete fan module replacement. This ensures the motor, impeller, and bearing are matched for optimal performance.
Before replacing, verify the electrical requirements. A new unit may have a different voltage or phase requirement. Check the mounting dimensions. The new fan must fit the existing frame without modifying the structure. If the frame is damaged, repair it first. A loose frame transmits vibration to the piping and supports.
Assess the cost of repair versus replacement. If the motor requires rewinding, the cost may exceed the price of a new motor. If the impeller is cracked, repair may not restore the aerodynamic performance. A new impeller ensures the correct balance and airflow. Check the manufacturer’s specifications for the new assembly. Ensure it meets the required airflow and pressure rise.
Plan the replacement during a maintenance window. Shut down the unit and lock out the electrical power. Remove the old assembly and clean the mounting surface. Install the new fan and align the shafts. Check the electrical connections and test the control signals. Run the unit at low speed and monitor for vibration and noise. Gradually increase the speed to the operating range. Record the final performance data and compare it with the baseline.
Frequently asked questions
How do I know if the fan motor is failing?
Listen for abnormal noise and check the motor temperature. If the bearing makes a rumbling sound or the housing gets hot to the touch, the motor is likely failing.
Can I clean the fins with a garden hose?
Use low pressure water or compressed air. High pressure can bend the fins and damage the tube sheet. Always direct the water away from the electrical components.
How often should I check the belt tension?
Check the belt tension during quarterly maintenance. If the unit runs continuously, check it monthly. A loose belt can slip and damage the pulley.
What is the best way to prevent airflow reduction?
Keep the inlet screen clean and remove debris from the fin pack. Fouling is the most common cause of reduced airflow in field conditions.
Does a dirty sensor affect cooling capacity?
Yes. A sensor that reads too high will signal the controller to lower fan speed. This reduces the air volume and lowers the cooling capacity of the exchanger.